Hello!
It's beginning to look a lot like Christmas around here and to me, that means making a few homemade presents.
I work closely with about 8 people and I wanted to get them a little something. Something that wasn't food related, was relatively inexpensive and quick and easy to make.
I was at a loss for what to make until I overheard a few fellow Minnesotans discussing their winter vacation plans. Then it just popped into my head: luggage tags!
I made these out of oilcloth so that they would be durable and easy to spot in baggage claim. I purchased a big sheet of it (about a yard) for about $20 at a local Minneapolis shop called Hunt and Gather. (If you ever find yourself in Minneapolis and enjoy vintage, quirky stuff, I highly recommend visiting. It's quite a spectacle!) I have plenty left over for further craft projects. Oilcloth is also available online at Oilcloth by the Yard or at Etsy. I have not been able to find it at big box fabric stores, but you could use vinyl, which is more readily available. Or you could use a household vinyl tablecloth, that could be purchased at any discount retailer.
You will also need clear vinyl (I purchased mine at Joann's) and some sort of elastic. I used hair elastics. And you'll need your trusty sewing machine. Let's get started.
Create a template for the tag. This one is 3" x 5". I made mine big enough to hold a typical business card.
Create a template for the clear window. This one is 2 1/2" x 4". It's based on housing a typical business card + 1/2" in height and width.
Using the tag template, cut two (a front and a back) out of oilcloth.
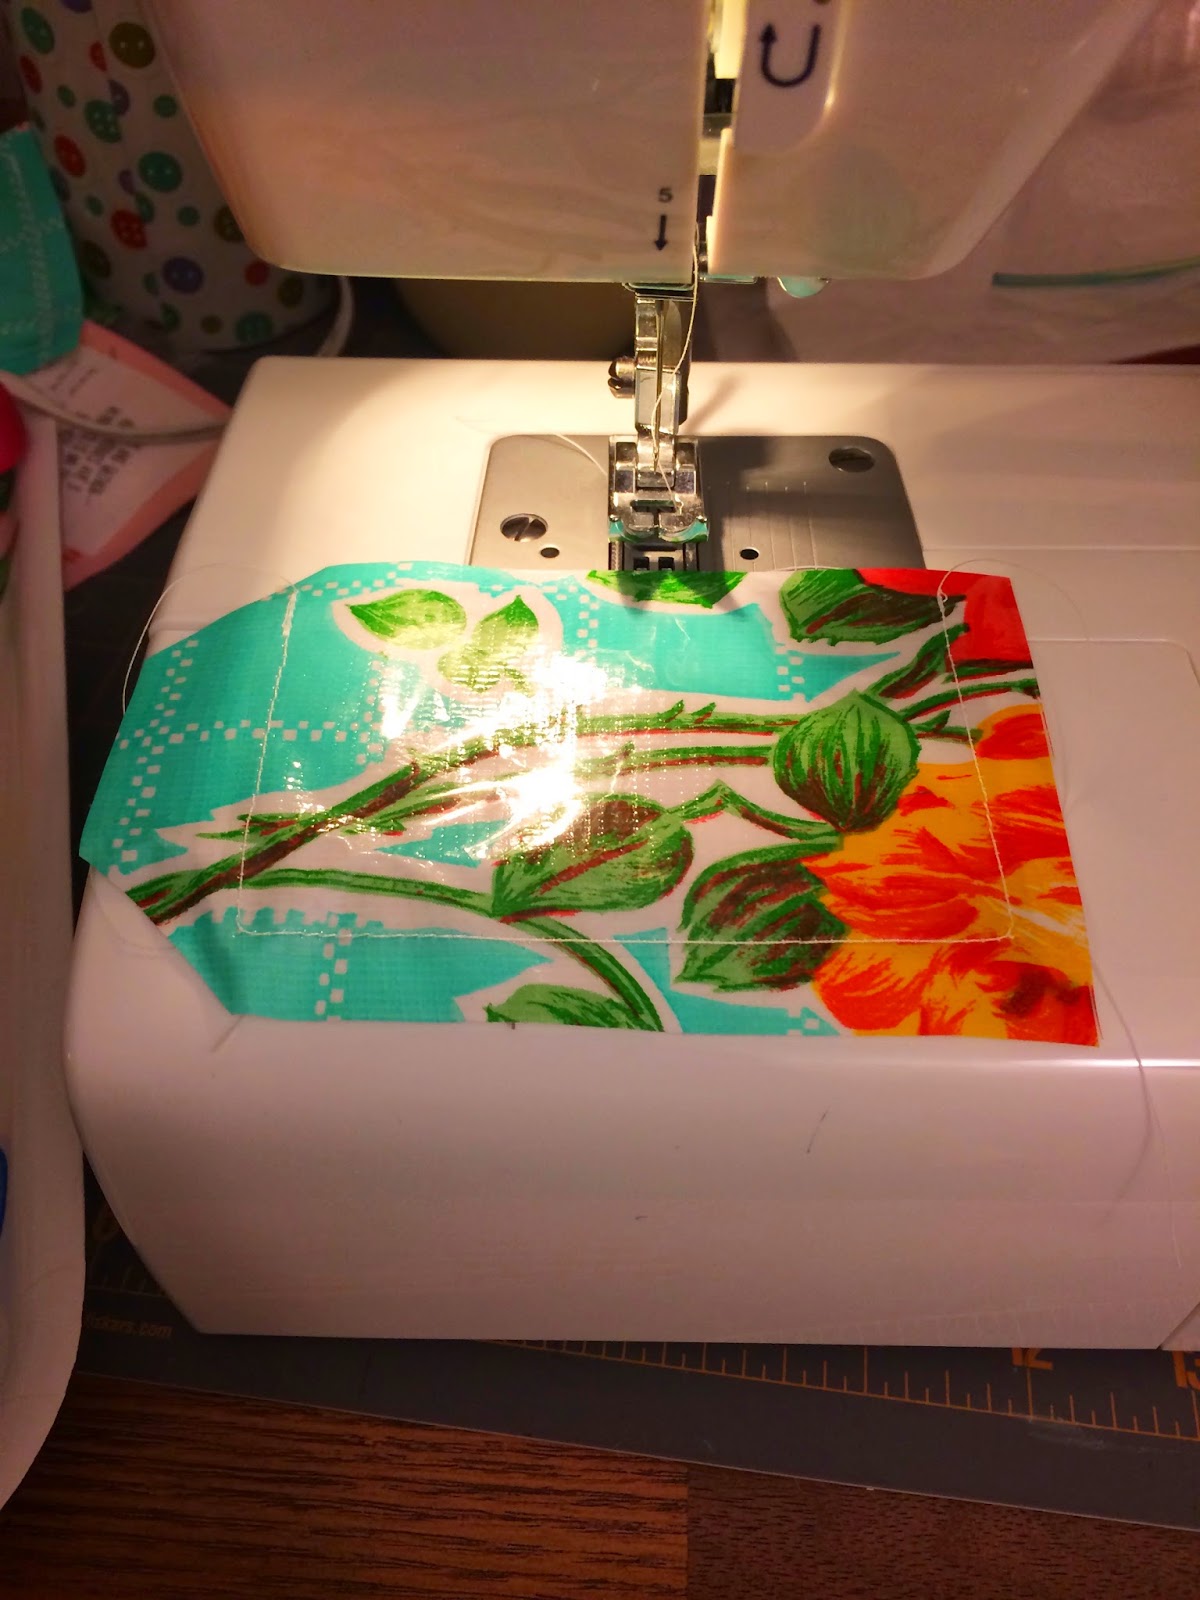
Using the window template, cut out one window.
(I didn't take photos of every little step. I figure you're intelligent people and would probably be able to figure this out without a tutorial at all, (it's that easy!) but if you have questions, please leave them in the comments.)
On the wrong side of the back of tag, mark the location for the elastic.
Using tape, place the elastic. This will keep your elastic centered to the tag while you sew. (This is a key step! Oilcloth is slippery and it's hard to keep that pesky little elastic piece in place.)
Sew your clear vinyl window to the front of the tag. Leaving the top edge open so you can insert your business card.
With wrong sides together, align the front and back of the tag.
Sew around the perimeter. Since this is oilcloth, you can leave the edges raw.
That's it! I made 10 of these in about an hour.
Since it's hard to see the clear window, here's one with a business card in it.
Stick in a bag with a pretty tag and you're done!
Everyone always appreciates a pretty, useful, handmade gift.
I handed them out today and they were a hit!
You can read more and get some really useful tips about sewing with oilcloth on Made.


No comments:
Post a Comment