Showing posts with label jewelry. Show all posts

Wednesday, June 6, 2012

Summer Statement Necklace


I have not tried a tutorial around these parts for a while, but when I saw Making It Lovely's post on a Statement Necklace, I knew it would be my next attempt.  (In an effort to give all credit it's due, the author of the tutorial writes her own blog at For the Love Of...)  I purchased all of the supplies at Michaels but have to admit that I went to three area locations to actually find these specific beads.  And then could only find them in one size (it is suggested to use three different sizes).  I bought 4 strands of the bead as well as all of the findings and chain for about $15.  It took me one evening of television watching to complete.  I love the way it turned out!  I can see this becoming my new summer statement necklace!


Sunday, March 11, 2012

Wooden Cross Stitch Pendant

I purchased this little wooden cross stitch pendant a few weeks ago on line. I love a clean slate. Oh the possibilities! I decided to just make simple pattern. With embroidery floss that I happened to have on hand. A light turquoise, a bright red and black. I love this shade of blue, it makes me think of a globe. I thought that this would be a quick and simple project. It wasn't. In fact, it took a few nights of dedication and several sore fingers to finish. Finishing up the last half, I finally realized that I could use a thimble. That made the process much less painful. This little pendant will get lots of wear this spring and summer.

Thursday, December 15, 2011

Flea Market Style: Brooch Necklace

Our holiday party is this afternoon and I was searching for something a little festive to wear with my standard black sweater. I remembered making this necklace a few years back. I bought the brooches at a flea market and attached them with jump rings, tied on a ribbon and an instant necklace! Inspiration found here.

Friday, September 2, 2011

The Bracelet Making Continues....

I'm going through a bracelet phase. It's true. I have always loved accessories, but for some reason the bracelet is where it's at for me right now. Not only have I enjoyed wearing them, I've also equally enjoyed making them.
I am not one to frequent Wal-Mart, but I found myself by one the other evening and needed some basics, so I begrudingly went in. I managed to pick up a few things at unbelievable low prices! Perhaps I should frequent them more often. At any rate, in the accessories section of Wal-Mart, I did manage to find these really inexpensive bangles. 2 for $3.00.
A few weeks ago, I picked up these beaded ribbons at the going out of business sale at Borders. At the time, I thought I would use them in a regular ribbon way, to tie onto a present. But they are so pretty and sparkly... And just like that, two more bracelets for my ever growing collection. All I did was hot glue the end of the ribbon to the inside of the bracelet, wrap the ribbon around, hot glue the other end. Too sparkly for day wear? I can't decide...

Sunday, August 21, 2011

Artful Jewelry-"Gauguin's Gift for Color" Bangles

Oh, Borders. I am enormously sad that you are going out of business. I am still coming to terms with the fact that I will have to find somewhere else to spend my lazy Saturday afternoons. It's a good thing I now am the proud owner of a Kindle. But on the other hand, a do love a good sale. So, I hit my local Borders the other afternoon. Everything is at least 40% off. I was purchasing a few stationary items (because of the Kindle, not really in the market for books) as well as some kid's books for my little nephew and nieces, when I came across this book. Artful Jewelry by Jo Packham. It was marked $3.99 and I think it rang up under $3. I love a good project and noticed that this book came with some supplies. The idea is that each project (11 of them) will become a piece of jewelry that was inspired by an artist and his works.
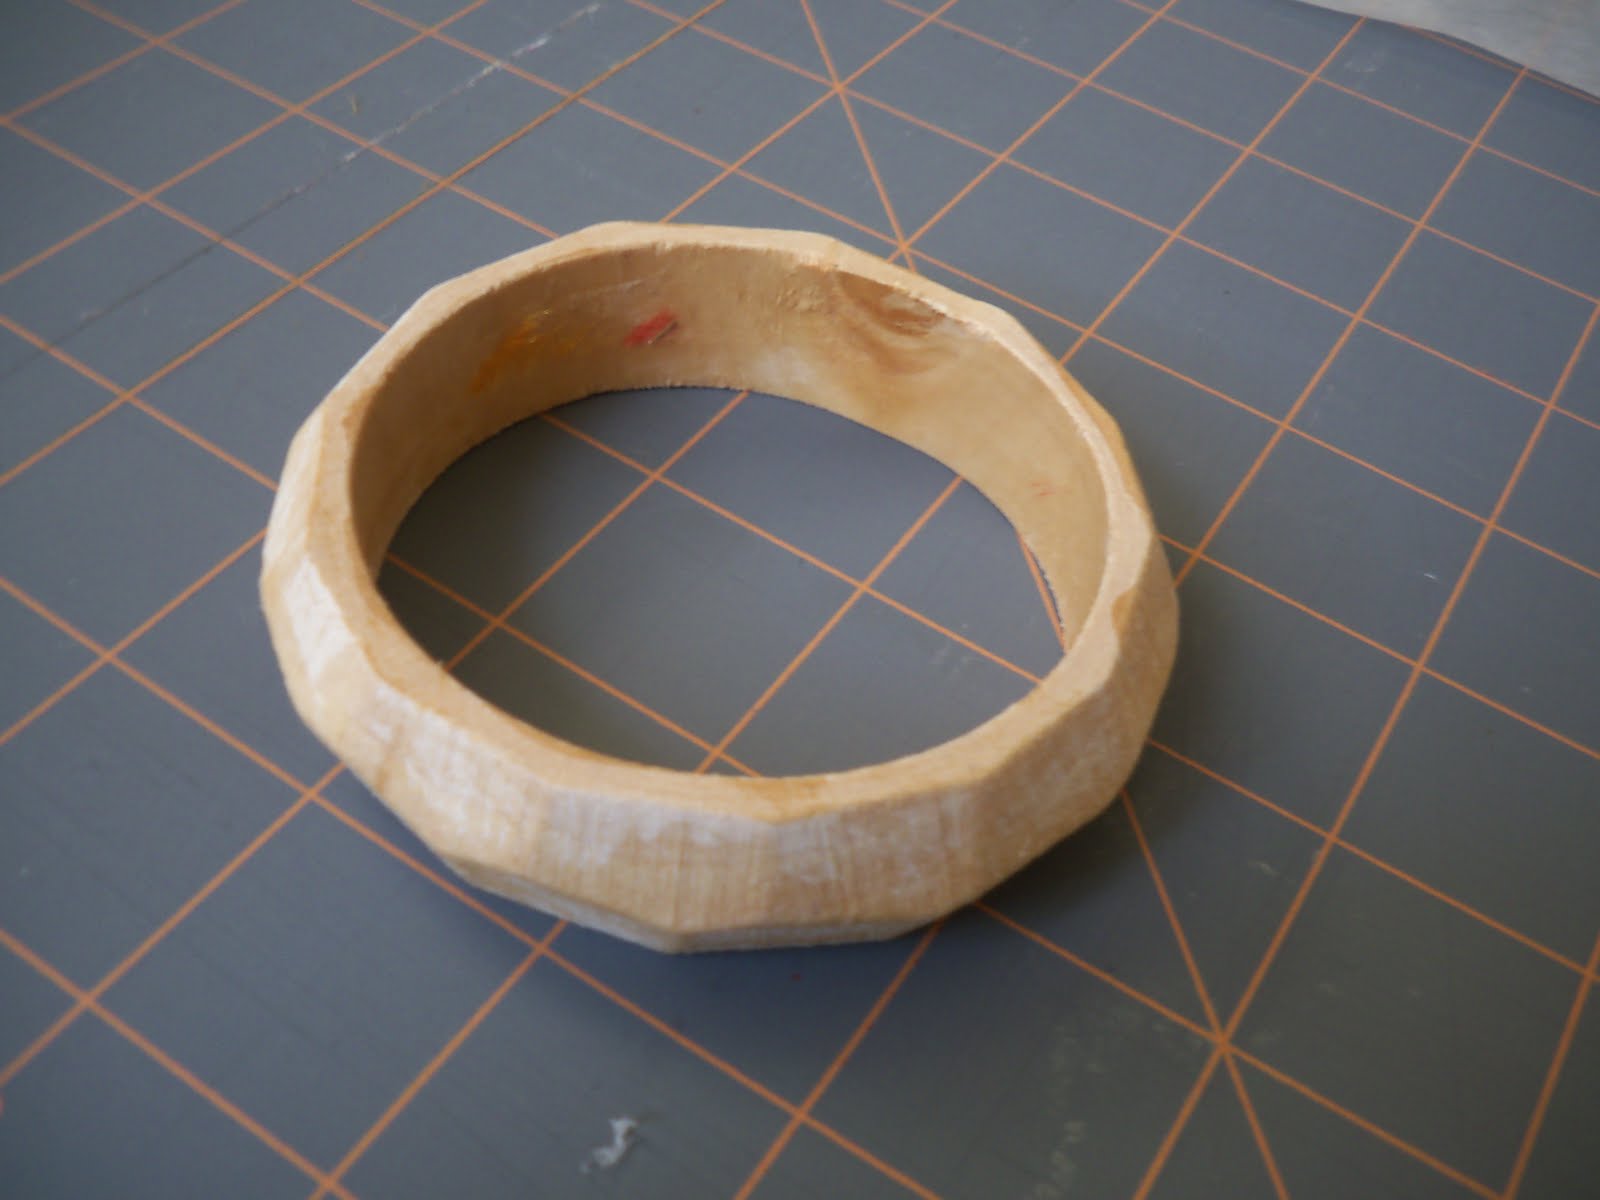
The first project that I chose was "Gauguin's Gift for Color." Essentially, they gave you a blank plastic bangle, with instructions to wrap said bangle with embroidery thread. Basically, you take your chosen embroidery thread color, glue it to the inside of the bracelet and wrap it around until the desired length is covered. Then start with a new color until you've covered the entire bracelet. This was an incredibly easy and satisfying project. Although was a little time consuming. What I would call a good TV project. The perfect mindless activity while watching TV. The book came with some embroidery thread, but they were only blues and yellows, not exactly colors that I have in my wardrobe. So I used my own thread, but did use the bracelet that came with the kit. I loved the way that it turned out, so I used another random wooden bracelet that I had on hand, to make another one (you know, more is more). If you decide to try this yourself, I recommend that you don't use hot glue. I did with the first one I made, and might have suffered a 2nd degree burn. Just buy some .29 cent school glue. Much more user friendly and super affordable with all of the back to school sales!! Also, I did look around to see if blank bangles were available in the craft stores. I did not find any at Micheal's or Joann's. I would recommend looking at Forever 21 or Wal-mart or Target for a plain plastic or wooden bangle. Should be relatively inexpensive. And embroidery thread is usually under .50 a skein. A perfect accessory for the end of summer!

Monday, August 1, 2011

Leather Cuff with Applique

I saw this tutorial , on Studio Waterstone, for a leather cuff months ago, but never got around to finding some leather to make one out of. Then, this weekend, while poking through the clearance bins at Joann's, came across this blank leather cuff for $2. Since it was already cut to size and had snaps attached, all I had to do was the fun stuff. The applique! (Below is how the cuff was purchased. Yes, this was for a child's project. Came complete with princess stickers! But it was actual leather. Although lavender.)

Wednesday, July 20, 2011

DIY Neon Necklace

I haven't had a "tutorial trial" on here for a while. But when I saw a brand new, super easy, yet impressive tutorial on Little Pink Monster, I knew I had to give it a shot. Besides, it involved the use of very bright nail polishes, that I have indulged myself with this summer. So, why not put them to another use? This one is super easy. Buy a chessy, rhinestoney necklace. (I happened to buy this one at JC Penney, it was the cheapest one I could find.) Carefully blot on nail polish. (I had a qtip near by to clean up little mistakes, becuse these "stones" were placed so closely together.) Do a top coat, just like you would with your nails. That's it!

Sunday, June 5, 2011

Ring A Ding Ding

If you know me at all, you know that I never wear rings. Never ever. I have incredibly sensitive skin and rarely even wear earrings, so I always figured that rings would be itchy and uncomfortable. But then I saw this tutorial...on Smashed Peas and Carrots. And thought I'd make one. Maybe I could wear one from time to time. It was more difficult than I would have expected to find the "adjustable ring blank with pad", I couldn't find them at Michael's or Joann's, but then found one at Hobby Lobby. I ended up using a ribbon that I had saved from a shopping bag handle, so I didn't bother getting a glaze. And I figured that I probably wouldn't wear it too often. This was a very quick project, probably took 5 minutes to put together. The most difficult part for me was finding my glue gun! Sadly, maybe the ribbon wasn't the best choice (perhaps a little thick), it didn't turn out perfectly, but still a fun thing to wear for the summer! I also think it would be fun to make a ring from an old brooch or an old ornate button. I think there might be some antiquing my my future!

Monday, February 14, 2011

Rolled Flower Necklace

I made this necklace yesterday using this tutorial for the rolled flowers. I ended up using hot glue (although my finger tips have some trepidation about hot glue, sometimes you just can't beat it's quick drying qualities.) After making the flowers, I ended up just hot gluing the flowers on a sort of "V" shaped piece of felt for a backing and gluing on a chain that I had around. I decided to wear it to work this morning and had a friend take a picture of it. Finally, a daytime picture! So much better than anything taken in my dark living room in the evening. It feels like spring around here today, going to be in the 60's! It seemed like the perfect day for it's debut.

Thursday, January 27, 2011

Felted Beads

I was scouring my closet for my knitting needle stash the other evening and found an entire box of wool roving. I had every intention of making felt beads a few years back, but somehow never got around to it. I seached on line for a good tutorial and fell in love with this one from Kleas Felted Bead Necklaces. This tutorial was originally made with children, so I figured it would be super easy. I wouldn't say that it was difficult, but I also wouldn't say that I had 100% success. Some of my attempts didn't felt enough, so they sort of started to fall apart once they were dry. Like with everything, improved my method with some trial and error. Ended up with enough beads to make one necklace. Not bad. I have quite a few more packages of wool roving, so I plan on trying this again soon. I had made the beads over the weekend, but never got around to stringing them into a necklace. We had a TERRIBLE winter storm (I think they have dubbed it thundersnow) last night, with whiteout conditions, thunder and lightening. Quite a sight to behold! I am incredibly forunate to live and work within a 2 mile radius and did not have trouble getting to work this morning. The bad storm last night completely took out the cable. (Eeek! What's a girl to do?) Which gave me ample time to string a necklace.

Thursday, September 23, 2010

Map Bracelet

I've been rather under the weather this week. I'm fairly certain I caught a virus from an airplane over the weekend. But a rather long and difficult day business trip to Allentown on Wednesday did me in. This too shall pass, but it has kept me home more than I would like. This afternoon, after I finished my work (I ended up working from home, given that it's difficult to conduct business with laryngitis), to keep my sanity, I decided to do a little crafting. I had picked up two wooden bracelets, covered in rather garish "asian" printed polyester, in the Target Dollar Spot for .50 each a few weeks ago, knowing that something could be done with them. Unfortunately, I didn't get a picture of them in their original state. I was too anxious to see how easily the fabric would come off. It came off very easily. They sat here uncovered for a few weeks until tonight. I decided to decoupage one of them with some map scrapbook paper. Just cut it into 1/2" wide strips, brushed some modge podge onto the back of each strip and wrapped them around. Then gave the whole thing a couple of modge podge coats and let it dry. Now...to think of what I should do with the other one...

Monday, March 22, 2010

Spring Accessories, Part V-Revisited

Just about the last thing I should be doing right now is working on crafts. I have about a million things to do before I leave for my big trip but, the multichain necklace (the original tutorial is found here) has been weighing on my mind. Especially since I made a special trip to get just the right beads and everything. Much better, don't you think? (It really just took a few minutes, I promise!!)

Friday, March 19, 2010

Spring Accessories, Part V

We've made it to the final necklace. Part V of the Spring Accessories series. Very fitting that this is the first offical day of spring! (And a glorious day it is-high temperature 75! Unheard of for March in Maryland.) Which also means that I really need to come up with some new content. Don't worry, I just might have a few ideas tucked away. This time, I've made a multi-chain necklace, inspired by the Velvet Chain Brocade Necklace, found on Craftzine. I didn't have velvet or brocade, so it's not exactly the same thing, but pretty close. I was at a bit of a loss when trying to find fabric to use. I didn't have anything neutral enough in my fabric stash of home dec fabrics so I ended up using a scrap of some old jeans. I didn't add the bow because I'm just not a "bow" person. But now looking at it, I think it may look a bit more finished if I used some sort of a flat wide bead instead of the fabric circles. I think this one may deserve a revisit. The concept was good, but I feel like my final product might be able to get a bit better. Perhaps another trip to Beadazzled is in store!
(I am also a little too excited that I finally figured out how to customize my header!! Pretty, no?)

Tuesday, March 16, 2010

Spring Accessories, Part IV

In preparation for the upcoming Easter holiday, I thought I needed a little pearl action. Now, I'm not normally a pearl person, but I have been seeing these ribbon and pearl necklaces everywhere. So I thought I would give one a shot. I looked very briefly for tutorial but couldn't really find what I was looking for. Turns out, I didn't really need one. Just picked up some ribbon and glass "pearls" and strung them together. This one really was super easy. On a separate note, as a novice blogger, I really, really need to work on my photography. I know that they would come out better in natural day light. But I have that pesky day job that ties me up most days. But I'm going to try a few new things. Hope to see some improvements for both of our sakes!

Monday, March 15, 2010

Spring Accessories, Part III

I apologize to all three of my readers, for posting another necklace. What can I say? I'm on a jewelry stint. To be honest, until I started this blog, I couldn't remember the last time I had made any jewelry. But I'm enjoying making it. It comes together pretty quickly, which is important to me, I tend to lose interest in things that don't get made within one sitting. I have at least two more necklaces in the works. I promise to have a little more diversity, eventually. I thank you in advance for your patience as I get all of these necklaces out of my system! This necklace was inspired by this lace and bead necklace tutorial found on Clever Nesting. I had the beads on hand and bought an 1/8 yard of the turquoise tulle netting for only $0.25! Now that's a deal. This could be one of the more imperfect things I've made lately (so much so that I considered not posting it), but it grew on me overnight. I love it's 80s vibe. I found some more random beads that I don't wear and am considering making another.

Wednesday, March 10, 2010

Spring Accessories, Part I

We had a couple of glorious spring-like days earlier this week, signaling that Spring is definitely on it's way. While I await more warm days, I decided to make this new spring bead necklace, made from a tutorial found on Martha Stewart. (Say what you will about Martha (and her people), she has great ideas.) It's made from some dark orange flocked "silk" dupioni fabric (yes, it's poly) that I've had in my fabric stash for a while. What ever possessed me to buy dark orange flocked "silk" dupioni fabric in the first place, I don't know. But it did lend itself well to this necklace. This was a pretty easy project, the hardest part, figuring out how big to make the fabric tube. Once that's finished, it's just feeding in beads and tying them off. I also didn't finish it off as explained in the tutorial, which was basically extending the "tube" and just tying it when wearing. That seemed bulky, so I just added a simple hook & ring clasp. I can't wait to wear this with one of the many black knit dressses I live in during the summer. Spring has given me hope that Summer will come! (Yes, this past winter has made me very dramatic.)

Sunday, March 7, 2010

Oilcloth Link Bracelet

As I'm known to do from time to time, I've taken this theme and ran with it. Another "Leather Link" project. This time, a bracelet made of oilcloth. I ADORE oilcloth, the durability, the bright, cheery prints...but it is a bit dicey to sew. So I was excited to think of a no sew use. I only needed about 7 links this time, so it went together really quickly. It's so lightweight, I hardly know I'm wearing it. I used a magnetic closure, since it can difficult to put a bracelet on yourself. Perhaps this will open a whole new world to me of making jewelry out of other non-fray items. What about Tyvek? Or Capri Sun packages? Oh, the possibilities!!

Saturday, March 6, 2010

Leather Chain Necklace

While shopping at Ikea, I never miss visiting the "as is" area. The Textiles Bin is a can't miss. I almost always find a single dishtowel, pillowcase or some slightly stained fabric yardage that I can easily turn into something else. Always at a ridiculously low price. Last weekend I didn't find any fabric-like items, but I did find a 17" x 37" length of black pebble leather. The price wasn't marked but I took it up to the front and I bargined with the manager and managed to get it for $5! (He started out at $8.) Boy, do I love a good bargin. But what does one do with a 17" x 37" length of black pebble leather? The first thing I thought of was making a clutch, which I still might do with the remains. My fear of needleholes kept me from jumping into that idea feet first. I just started researching leather tutorials and came across this Leather Chain Necklace, via Cucumbersome. I have to tell you, I didn't exactly enjoy the journey on this one. I ended up needing about 30 "figure-8" cut outs to reach my desired length. Cutting these out was not the most challenging and interesting activity. And was rather time consuming. But I did manage to crank these out Thursday evening while watching Grey's Anatomy/Private Practice. But I am rather pleased with the outcome. Not bad for $5. I really do think I'll get a lot of wear out of it. And I have about 3/4 of the leather left, just waiting for me to figure out what to do with it. I will now be in search of some brightly colored leather, wouldn't that make a fun bracelet? I also may try this with some oilcloth scraps I have around.

A Really Good Bead Store, The Importance of Finding Good Supplies

I have my eye on a necklace tutorial and have two jewelry projects that I just need to add some finishing touches to, so I headed to a big box craft store after work yesterday. To say that I was disappointed by the jewelry findings selection is an understatement. I could not believe that they didn't have one thing that I was looking for. I actually left empty handed. I really didn't think that Baltimore had any good bead stores, but after some very quick research, came across Beadazzled, located at 501 N Charles St. It's a lovely store, good sized for a bead store, fully stocked and in a charming neighborhood (this is, after all, charm city). The staff was friendly and helpful and they had EVERYTHING I was looking for.
I'm sure that I'm not telling you something you don't know, but to truly be successful in craft making, I highly recommend that you don't just take what you can find in a big box store. If you find what you want there, then by all means, use your 40% off coupon and call it a day. But if you don't find what you want, don't settle. Chances are you'll feel like your final product is just ok, if you feel that the fabric (for example) that you purchased for it is just ok. I cannot encourage you enough to visit independent sellers of jewelry supplies, fabrics and any other things crafty. Both in person and on line. The people that own and run these stores are real experts in their field and are often incredibly helpful and usually very kind. Some of my favorite fabric websites are:
Hope you are finding a little creative time this weekend!